4 Quick Steps to Make the Perfect Snow Ice Cream

Posted on

Snow Ice Cream

Desserts

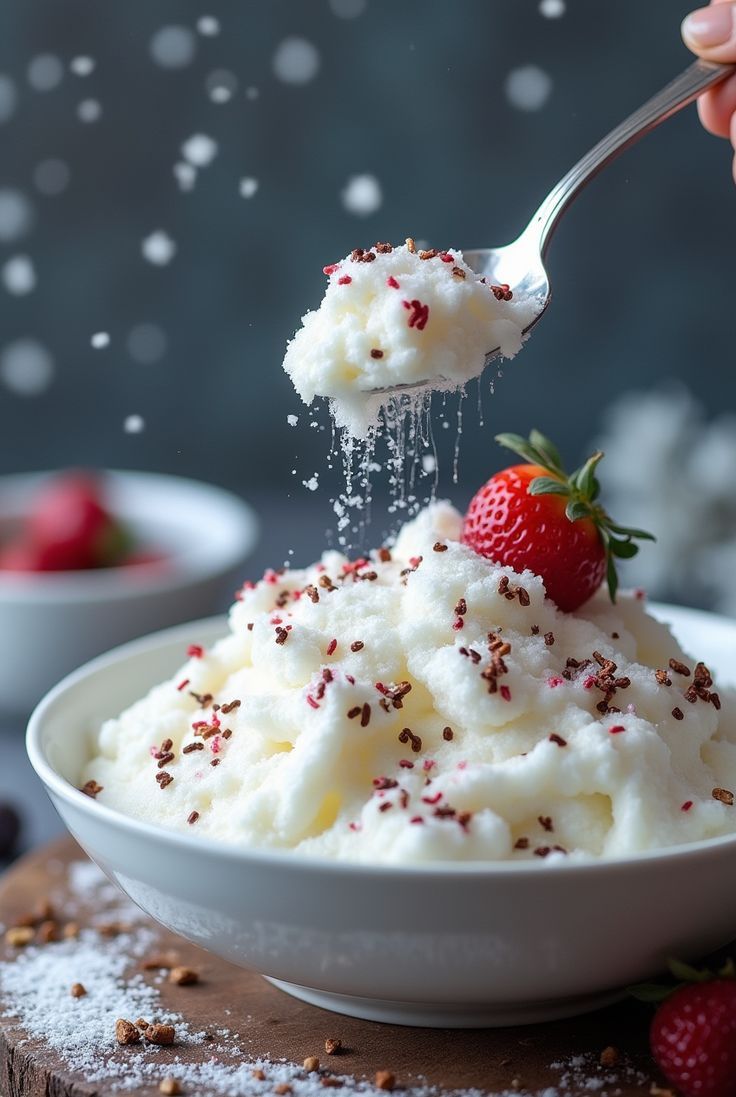
Snow Ice Cream is a nostalgic, fun, and super simple dessert that brings winter magic into your kitchen. With just a few ingredients and freshly fallen snow, you can whip up a creamy, sweet treat in minutes. Whether you’re entertaining kids or craving a unique seasonal dessert, this snow ice cream will not disappoint.

Why Make Snow Ice Cream

Making snow ice cream is a fun, spontaneous activity that turns a snowy day into a delicious experience. It’s easy, quick, and made with simple ingredients you likely already have. Plus, it’s a great way to involve kids in the kitchen and make memories on snow days!

How to Make Snow Ice Cream

Ingredients

1 cup (240 ml) milk (whole or any milk of choice)

1/3 cup (65 g) granulated sugar

1 tsp vanilla extract

8 cups clean, fresh snow (or shaved ice as a substitute if snow isn’t available)

Optional toppings: chocolate syrup, sprinkles, crushed cookies

Directions

  1. In a large bowl, whisk together the milk, sugar, and vanilla extract until the sugar is mostly dissolved.
  2. Gradually add the fresh snow, about 2 cups at a time, stirring gently after each addition until the mixture reaches a soft, ice cream-like consistency.
  3. Once fully mixed, serve immediately for the best texture.
  4. Add your favorite toppings and enjoy!

How to Serve Snow Ice Cream

Serve immediately after making for the creamiest consistency. Scoop into bowls or cones and top with syrup, sprinkles, or a drizzle of sweetened condensed milk. It’s perfect for enjoying right after a snowball fight or while warming up indoors.

How to Store Snow Ice Cream

Snow ice cream is best enjoyed fresh, but if you need to store it, place it in an airtight container in the freezer for up to 24 hours. It may become harder or icy, so let it sit at room temperature for a few minutes and stir before eating.

Tips to Make the Perfect Snow Ice Cream

  • Use clean, freshly fallen snow (avoid snow that’s been sitting out or near roads).
  • For richer flavor, use whole milk or even a splash of heavy cream.
  • Adjust sugar to your taste—some prefer it more or less sweet.
  • Stir gently to avoid melting the snow too quickly.
  • Want it extra creamy? Add a spoonful of condensed milk to the mixture.

Variation

Switch things up by adding cocoa powder for a chocolate version, or swirl in strawberry syrup for a fruity twist. Use coconut or almond milk for a dairy-free option. Top with sprinkles, crushed cookies, or mini marshmallows for extra fun. Add a drop of peppermint extract for a refreshing minty flavor!


snow ice cream

4 Quick Steps to Make the Perfect Snow Ice Cream

Snow Ice Cream is a nostalgic, fun, and super simple dessert that brings winter magic into your kitchen. With just a few ingredients and freshly fallen snow, you can whip up a creamy, sweet treat in minutes. Whether you’re entertaining kids or craving a unique seasonal dessert, this snow ice cream will not disappoint.

Ingredients
  

  • 1 cup 240 ml milk (whole or any milk of choice)
  • 1/3 cup 65 g granulated sugar
  • 1 tsp vanilla extract
  • 8 cups clean fresh snow (or shaved ice as a substitute if snow isn’t available)
  • Optional toppings: chocolate syrup sprinkles, crushed cookies

Instructions
 

  • In a large bowl, whisk together the milk, sugar, and vanilla extract until the sugar is mostly dissolved.
  • Gradually add the fresh snow, about 2 cups at a time, stirring gently after each addition until the mixture reaches a soft, ice cream-like consistency.
  • Once fully mixed, serve immediately for the best texture.
  • Add your favorite toppings and enjoy!

Notes

How to Serve Snow Ice Cream

Serve immediately after making for the creamiest consistency. Scoop into bowls or cones and top with syrup, sprinkles, or a drizzle of sweetened condensed milk. It’s perfect for enjoying right after a snowball fight or while warming up indoors.

How to Store Snow Ice Cream

Snow ice cream is best enjoyed fresh, but if you need to store it, place it in an airtight container in the freezer for up to 24 hours. It may become harder or icy, so let it sit at room temperature for a few minutes and stir before eating.

Tips to Make the Perfect Snow Ice Cream

  • Use clean, freshly fallen snow (avoid snow that’s been sitting out or near roads).
  • For richer flavor, use whole milk or even a splash of heavy cream.
  • Adjust sugar to your taste—some prefer it more or less sweet.
  • Stir gently to avoid melting the snow too quickly.
  • Want it extra creamy? Add a spoonful of condensed milk to the mixture.

Variation

Switch things up by adding cocoa powder for a chocolate version, or swirl in strawberry syrup for a fruity twist. Use coconut or almond milk for a dairy-free option. Top with sprinkles, crushed cookies, or mini marshmallows for extra fun. Add a drop of peppermint extract for a refreshing minty flavor!

Keyword cold dessert, Ice Cream, snow, snow ice cream

Stay connected

Enjoyed our delicious dessert ? Be sure to save the recipe and share it with a friend who loves cold, comforting desserts! Follow us on Instagram and Facebook for more mouthwatering treats and easy-to-make recipes that will brighten your day!

You might also like these recipes

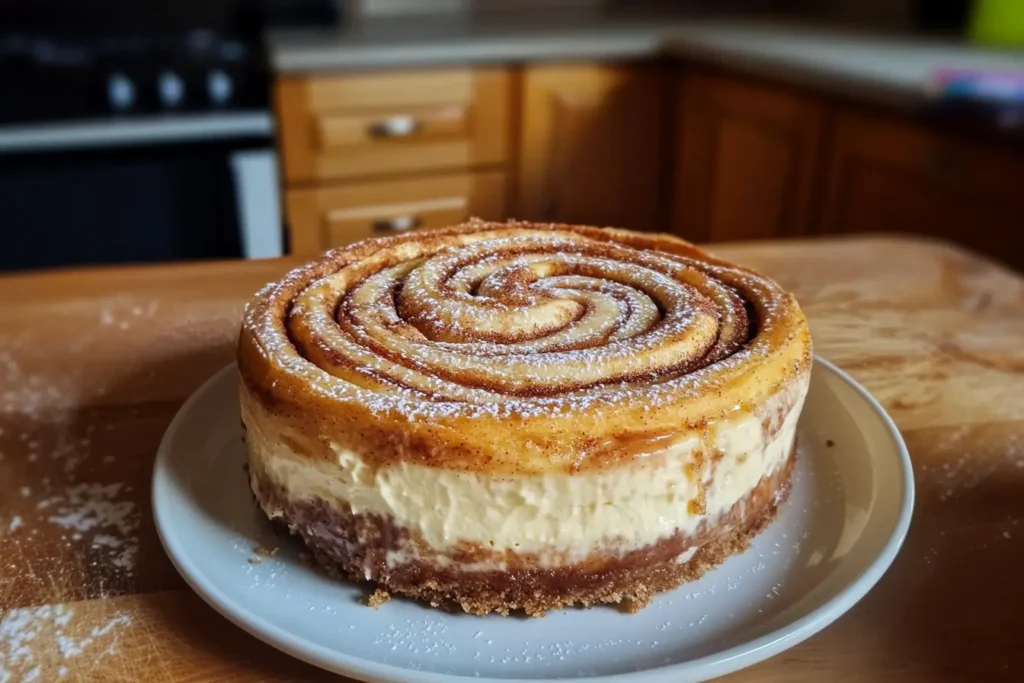
Cinnamon Roll Honeybun Cheesecake – A rich and creamy cheesecake with a cinnamon roll twist.

Soft and Chewy Sugar Cookies – Classic, buttery sugar cookies that melt in your mouth.

Mini Peach Cobbler Cheesecakes – Bite-sized cheesecakes with a sweet peach cobbler topping

FAQs

1.How long does it last?

Up to 24 hours in the freezer; stir before serving if it hardens.

2.What toppings work best?

Sprinkles, chocolate chips, crushed cookies, or caramel sauce.

3.How many servings does it make?

About 4 small servings, depending on the amount of snow used.

4 Quick Steps to Make the Perfect Snow Ice Cream

Photo of author

Farah MOUHMID

snow ice cream

Snow Ice Cream is a nostalgic, fun, and super simple dessert that brings winter magic into your kitchen. With just a few ingredients and freshly fallen snow, you can whip up a creamy, sweet treat in minutes. Whether you’re entertaining kids or craving a unique seasonal dessert, this snow ice cream will not disappoint.

Why Make Snow Ice Cream

Making snow ice cream is a fun, spontaneous activity that turns a snowy day into a delicious experience. It’s easy, quick, and made with simple ingredients you likely already have. Plus, it’s a great way to involve kids in the kitchen and make memories on snow days!

How to Make Snow Ice Cream

Ingredients

1 cup (240 ml) milk (whole or any milk of choice)

1/3 cup (65 g) granulated sugar

1 tsp vanilla extract

8 cups clean, fresh snow (or shaved ice as a substitute if snow isn’t available)

Optional toppings: chocolate syrup, sprinkles, crushed cookies

Directions

  1. In a large bowl, whisk together the milk, sugar, and vanilla extract until the sugar is mostly dissolved.
  2. Gradually add the fresh snow, about 2 cups at a time, stirring gently after each addition until the mixture reaches a soft, ice cream-like consistency.
  3. Once fully mixed, serve immediately for the best texture.
  4. Add your favorite toppings and enjoy!

How to Serve Snow Ice Cream

Serve immediately after making for the creamiest consistency. Scoop into bowls or cones and top with syrup, sprinkles, or a drizzle of sweetened condensed milk. It’s perfect for enjoying right after a snowball fight or while warming up indoors.

How to Store Snow Ice Cream

Snow ice cream is best enjoyed fresh, but if you need to store it, place it in an airtight container in the freezer for up to 24 hours. It may become harder or icy, so let it sit at room temperature for a few minutes and stir before eating.

Tips to Make the Perfect Snow Ice Cream

  • Use clean, freshly fallen snow (avoid snow that’s been sitting out or near roads).
  • For richer flavor, use whole milk or even a splash of heavy cream.
  • Adjust sugar to your taste—some prefer it more or less sweet.
  • Stir gently to avoid melting the snow too quickly.
  • Want it extra creamy? Add a spoonful of condensed milk to the mixture.

Variation

Switch things up by adding cocoa powder for a chocolate version, or swirl in strawberry syrup for a fruity twist. Use coconut or almond milk for a dairy-free option. Top with sprinkles, crushed cookies, or mini marshmallows for extra fun. Add a drop of peppermint extract for a refreshing minty flavor!

snow ice cream

4 Quick Steps to Make the Perfect Snow Ice Cream

Snow Ice Cream is a nostalgic, fun, and super simple dessert that brings winter magic into your kitchen. With just a few ingredients and freshly fallen snow, you can whip up a creamy, sweet treat in minutes. Whether you’re entertaining kids or craving a unique seasonal dessert, this snow ice cream will not disappoint.

Ingredients
  

  • 1 cup 240 ml milk (whole or any milk of choice)
  • 1/3 cup 65 g granulated sugar
  • 1 tsp vanilla extract
  • 8 cups clean fresh snow (or shaved ice as a substitute if snow isn’t available)
  • Optional toppings: chocolate syrup sprinkles, crushed cookies

Instructions
 

  • In a large bowl, whisk together the milk, sugar, and vanilla extract until the sugar is mostly dissolved.
  • Gradually add the fresh snow, about 2 cups at a time, stirring gently after each addition until the mixture reaches a soft, ice cream-like consistency.
  • Once fully mixed, serve immediately for the best texture.
  • Add your favorite toppings and enjoy!

Notes

How to Serve Snow Ice Cream

Serve immediately after making for the creamiest consistency. Scoop into bowls or cones and top with syrup, sprinkles, or a drizzle of sweetened condensed milk. It’s perfect for enjoying right after a snowball fight or while warming up indoors.

How to Store Snow Ice Cream

Snow ice cream is best enjoyed fresh, but if you need to store it, place it in an airtight container in the freezer for up to 24 hours. It may become harder or icy, so let it sit at room temperature for a few minutes and stir before eating.

Tips to Make the Perfect Snow Ice Cream

  • Use clean, freshly fallen snow (avoid snow that’s been sitting out or near roads).
  • For richer flavor, use whole milk or even a splash of heavy cream.
  • Adjust sugar to your taste—some prefer it more or less sweet.
  • Stir gently to avoid melting the snow too quickly.
  • Want it extra creamy? Add a spoonful of condensed milk to the mixture.

Variation

Switch things up by adding cocoa powder for a chocolate version, or swirl in strawberry syrup for a fruity twist. Use coconut or almond milk for a dairy-free option. Top with sprinkles, crushed cookies, or mini marshmallows for extra fun. Add a drop of peppermint extract for a refreshing minty flavor!
Keyword cold dessert, Ice Cream, snow, snow ice cream

Stay connected

Enjoyed our delicious dessert ? Be sure to save the recipe and share it with a friend who loves cold, comforting desserts! Follow us on Instagram and Facebook for more mouthwatering treats and easy-to-make recipes that will brighten your day!

You might also like these recipes

Cinnamon Roll Honeybun Cheesecake – A rich and creamy cheesecake with a cinnamon roll twist.

Soft and Chewy Sugar Cookies – Classic, buttery sugar cookies that melt in your mouth.

Mini Peach Cobbler Cheesecakes – Bite-sized cheesecakes with a sweet peach cobbler topping

FAQs

1.How long does it last?

Up to 24 hours in the freezer; stir before serving if it hardens.

2.What toppings work best?

Sprinkles, chocolate chips, crushed cookies, or caramel sauce.

3.How many servings does it make?

About 4 small servings, depending on the amount of snow used.

You might also like these recipes